Getting Started
This chapter will walk the reader through configuring a personal AWS account. Additional Pulumi and LocalStack installation instructions are included for managing cloud resources and local development respectively.
This chapter will walk the reader through configuring a personal AWS account. Additional Pulumi and LocalStack installation instructions are included for managing cloud resources and local development respectively.
The following sections cover setting up an AWS account, creating AWS API credentials, and configuring the AWS CLI tool.
An AWS account is required to begin provisioning cloud resources. While the process is rather straightforward, instructions are provided below for additional guidance.
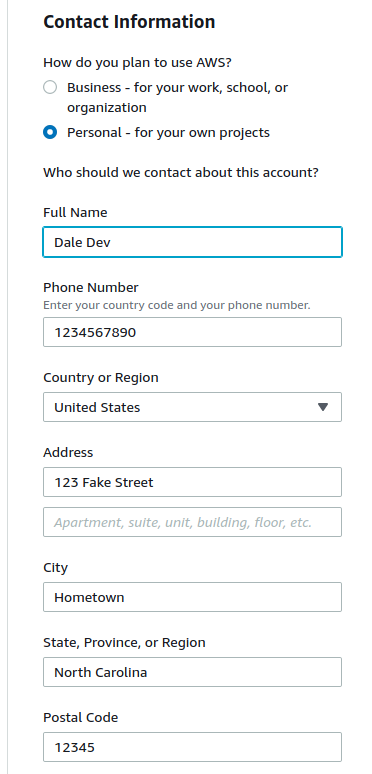
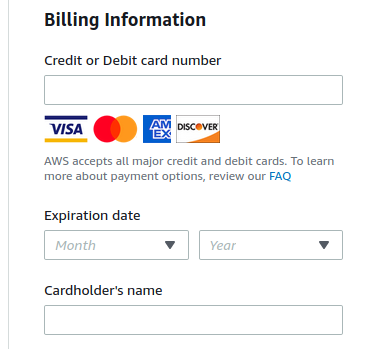
A credit card, email address, and phone number are required for setting up an AWS account. Readers who are students or US veterans may qualify for AWS Educate, which provides AWS credits for both courses and projects. More information can be found here.
Navigate to the AWS homepage and select the “Create an AWS Account” option in the page header.
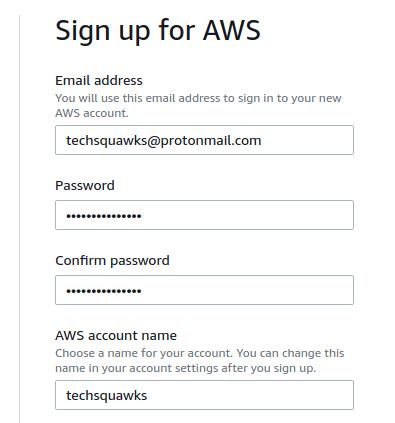
Enter a preffered email address for the AWS account.
Complete the phone number verification process.
Afterwards, readers should recieve a confirmation email once the submitted account information is verified. This may take as long as two days.
Once verification is complete, verify that login is functioning for the root AWS account here using the credentials created in step #1.
After successfully setting up an account, AWS automatically creates a default user entity known as the root user, which has unlimited access to all cloud resources. Because of this, it is considered best practice to create a separate AWS user for development and rectrict access to the root user. The folowing instructions cover enabling MFA (multi-factor authentication) to secure access to the root user and creating a separate developer user with programtic credentials for the AWS CLI and SDK.
Log into the AWS console. Type “IAM” into the top search bar and click on the first result from the dropdown.
On the IAM dashboard, select the option to configure MFA on the root account.
Select “Virtual MFA Device” for the MFA type.
Scan the resulting QR code and enter the two resulting codes.
It may be beneficial to save a screenshot of the QR code image. In the event that readers lose their MFA device, MFA can then be easily reconfigured on a separate device.
Within the IAM menu, go to the users tab and press the “Add Users”
Select both “Programatic access” and “AWS Management Console access” options. Enter an AWS console password and unselect “Require password reset”
Under “Attach existing policies directly”, check “Aministrator Access”.
Skip the tags section and click Create User
After the user is generated, click “Download .csv” to download the access and secret key pair and a user-specific sign-in URL.
Credentials are only available for download immediately after generation. Afterwards, the credentials will be unrecoverable.
AWS provides a CLI tool for facilitating the invocation of cloud APIs, leveraging a user’s local credentials.
The following instructions target version 2 of the AWS CLI. For version 1, see these instructions. Note that these versions are not backwards compatible.
Download and install the CLI for the desired operating system:
Download and run the CLI installer.
Download the latest pkg file here and double-click to install.
Execute the following:
$ curl "https://awscli.amazonaws.com/AWSCLIV2.pkg" -o "AWSCLIV2.pkg"
$ sudo installer -pkg AWSCLIV2.pkg -target /
For x86 (64-bit) distributions:
$ curl "https://awscli.amazonaws.com/awscli-exe-linux-x86_64.zip" -o "awscliv2.zip"
$ unzip awscliv2.zip
$ sudo ./aws/install
For ARM distributions, execute the following:
$ curl "https://awscli.amazonaws.com/awscli-exe-linux-aarch64.zip" -o "awscliv2.zip"
$ unzip awscliv2.zip
$ sudo ./aws/install
Run the following too confirm that the CLI has been successfully installed:
Command
aws --version
Output
aws-cli/2.5.8 Python/3.9.11 Windows/10 exe/AMD64 prompt/off
Run the following and enter the credentials downloaded from the previous section when prompted. This will enable the CLI to authenitcate with AWS services.
Command
aws configure
Interactive Prompt
AWS Access Key ID [None]: access-key-value-here
AWS Secret Access Key [None]: secret-key-value-here
Default region name [None]: us-east-1
Default output format [None]:
Run the following to ensure the CLI is properly configured, which will return the active user and account information.
Command
aws sts get-caller-identity
Output
{
    "UserId": "BIDAYGZ7AN44NDI6LOIG4",
    "Account": "012345678910",
    "Arn": "arn:aws:iam::012345678910:user/username"
}
When working in cloud environments, it is useful to be able to define and statefully manage infrastructure. Pulumi is an Infrastructure as Code (IAC) utility that allows developers to programatically create, update, and delete cloud resources using programming languages such as Typescript, Javascript, Python, and Go.
Download and install Pulumi following the instructions here.
Confirm the CLI is successfully installed by running the following.
Command
pulumi version
Example Output
v3.39.1
Within an empty directory, execute one of the following to create a Pulumi project for the target programming language.
pulumi new aws-typescript
pulumi new aws-javascript
pulumi new aws-python
pulumi new aws-go
Once the Pulumi project has initialized, run the following command to ensure Pulumi is able to execute the project for the target language.
The pulumi preview command will list which cloud resources will be generated by the Pulumi program. For a default Pulumi project, there should only be the default S3 bucket for data storage.
Command
pulumi preview
Example Output
Previewing update (dev)

View Live: https://app.pulumi.com/username/test/dev/previews/5aa60450-112f-4394-99c7-233c13822001

     Type                 Name       Plan
 +   pulumi:pulumi:Stack  test-dev   create
 +   └─ aws:s3:Bucket     my-bucket  create

Outputs:
    bucketName: output<string>

Resources:
    + 2 to create
To verify deployments are working as expected, execute the following:
Command
pulumi up -f
Example Output
Updating (dev)

View Live: https://app.pulumi.com/username/test/dev/updates/1

     Type                 Name       Status
 +   pulumi:pulumi:Stack  test-dev   created
 +   └─ aws:s3:Bucket     my-bucket  created

Outputs:
    bucketName: "my-bucket-9f5953e"

Resources:
    + 2 created

Duration: 6s
Once the above runs successfully, run the following to delete any provisioned resources.
Command
pulumi down -f
Example Output
Destroying (dev)

View Live: https://app.pulumi.com/username/test/dev/updates/2

     Type                 Name       Status
 -   pulumi:pulumi:Stack  test-dev   deleted
 -   └─ aws:s3:Bucket     my-bucket  deleted

Outputs:
  - bucketName: "my-bucket-fb2b85f"

Resources:
    - 2 deleted

Duration: 4s
While it is preferrable to develop and test applications against actual cloud resources when possible, not all readers may have AWS access or be able to set up a private account. Additionally, there is always the risk of leaving cloud resources provisioned, which may result in unintended charges. To make these tutorials as accessible and cost-effective as possible, examples in these tutorials leverage the free-tier version of LocalStack whenever possible.
LocalStack is able to emulate an AWS cloud environment on the user’s development machine, making it useful for both development and testing. Examples that work and function with the free-tier version of LocalStack will be appropriately marked.
LocalStack requires the following be installed on the user’s local machine to function properly.
Navigate to the Python and Docker Desktop installation page for platform-specific setup instruction.
LocalStack offers a CLI for provisioning an AWS test environment. To install it, execute the following.
pip3 install localstack
Initialize Localstack with the following:
localstack start
Adding the --endpoint-url option to the AWS CLI will direct API requests to the Localstack instance. For example, the following will create an AWS S3 data storage bucket within Localstack.
aws --endpoint-url=http://localhost:4566 s3 mb s3://mytestbucket